Hosting Teams and Zoom Hybrid Meetings on Windows 10
This guide will provide instructions on how to host hybrid meetings within Windows 10, using cheap or existing equipment to do so. If you have followed the appropriate instructions below and are experiencing any technical difficulties, please contact the Computer Officers.
Connecting your computer to a monitor
There are four main cables you may need to connect your computer to a display monitor. On laptops, these ports are typically on the sides, whereas on desktop computers they are usually found at the back. One end of the cable will plug into your computer's port, while the other end will plug into the port found on the display monitor, usually at the back or underneath. Check that your computer has at least one of these ports and make sure the monitor has a matching one.
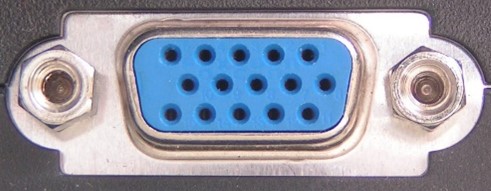
1. VGA - These ports are blue and are mostly found on desktop computers, older laptops and older monitors. The cable has two pins that can be tightened clockwise to secure the cable to the port.
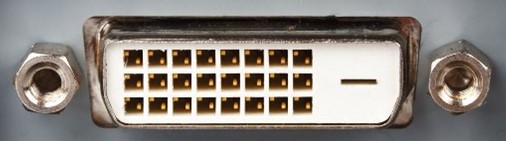
2. DVI - These ports are white and are mostly found on desktop computers and older monitors. The cable has two pins that can be tightened clockwise to secure the cable to the port.
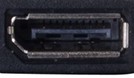
3. DisplayPort - These ports have one curved side and are mostly found on desktop computers and newer monitors.
4. HDMI - These ports have two curved sides. These are mostly found on newer desktop computers, laptops and monitors.

Duplicate your computer screen to a monitor
Once you have connected your computer to a monitor using the appropriate cable, you can choose whether to show the same screen shown on your computer, or extend your display to two screens, with different screens on your computer and monitor. Please note that applications may be resized when swapping between your computer screen and a monitor.
1. Go to your Desktop by minimising all open windows, or by clicking the rectangle in the bottom-right of your screen.

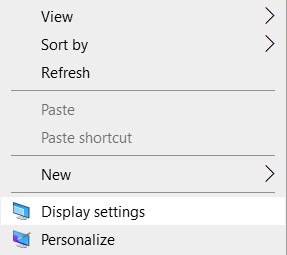
2. Right-click an empty space on your Desktop and select 'Display settings' from the menu.
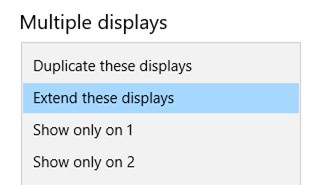
3. Under 'Multiple displays', select 'Duplicate these displays' to show your computer screen on the monitor, or select 'Extend these displays' to create a second window, where you can move applications across to the right of your screen and onto the new window.
Outputting your computer sound to a monitor
When hosting a hybrid meeting, it is essential that everyone can hear audio from your computer when playing videos or when meeting with people connected online. Connecting your computer to a monitor should automatically output your computer's sound to the monitor's speakers, but if this does not happen automatically then please follow the steps below.
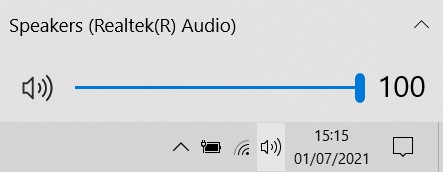
1. Click the sound icon in the bottom-right of your screen to view the device audio is currently coming through.
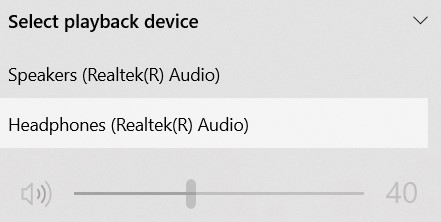
2. Click the ^ on the right of the device and choose the audio device you would like audio to come from.
3. Lastly, make sure the volume is turned up appropriately by moving the audio slider at the bottom. Clicking the slider plays a short audio clip to show how loud your audio will be.
4. If you cannot hear any sound after selecting the correct audio device and turning up the volume, you may need to adjust the speakers on the monitor. These may be built-in or connected to the monitor, but they should have a turning dial or buttons, depending on the model. Turn the dial clockwise or press the + button to turn the volume up; if there are speakers connected to the monitor, they may need powering on by pressing the power button on each speaker.
Microphone, speaker and camera recommendations
A microphone is the most important part of a hybrid meeting, as this will allow people connected online to listen to the meeting. Laptops will usually have a built-in microphone, though its quality may not be ideal for meetings. Desktop computers do not typically have a built-in microphone. Therefore, it may be worth purchasing a cheap conference speaker, which uses multiple high-quality microphones to capture audio within a meeting, and output sound from the computer from one device. Microphones should be positioned between all people physically attending the meeting, so that everyone can be heard by people connected online. Conference speakers we recommend include the Jabra Speak models, which start from under £100 for wired models like the Speak 510 or just over £100 for wireless models like the Speak 510+, or the Anker PowerConf S3, which costs just under £100 for a wireless solution. Please note that these prices are accurate as of July 2021 and may have changed since this was written.
A camera is an optional but beneficial part of a hybrid meeting, allowing people connected online to see the people physically attending the meeting. Laptops usually have a built-in camera, though its quality may not be ideal for meetings and it may not be positioned appropriately to see everyone in the meeting. Desktop computers do not typically have a built-in camera so it would be worth purchasing a cheap webcam, which can be positioned on the top of the display monitor or in front of everyone in the meeting. Webcams we recommend include ones by Logitech, which cost under £30 for their C270 model or under £100 for their higher-quality C920 model, or ones by Microsoft, which cost under £30 for their L2 LifeCam HD-3000 model. Please note that these prices are accurate as of July 2021 and may have changed since this was written.
Connecting a USB microphone to the computer
Most microphones will connect to computers via a USB cable or audio jack, which can be plugged into the USB port (left) or microphone audio port (right) shown below. Please note that some computers have one audio port for headphones and microphones, while others will have two, so look for the microphone symbol around the audio port to ensure you are using the right one.


Once plugged in, change the microphone in use to the wired one by following these instructions:
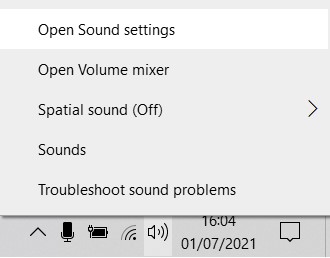
1. Right-click the audio icon in the bottom-right of your screen, then select 'Open Sound settings'.
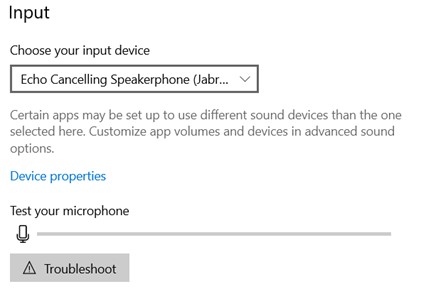
2. Under the 'Input' section, choose the microphone you would like to use by clicking the name of the current microphone, then select the name of the microphone you wish to use. You can then test the microphone by speaking, where the blue bar under 'Test your microphone' will react to sound.
Connecting a Bluetooth microphone or speaker to the computer
Bluetooth microphones and speakers will usually work by connecting them to the computer via Bluetooth, or by plugging a wireless USB dongle into the computer. Connecting Bluetooth devices is different for each model, so consult its user manual if you are unsure. Please follow the instructions below to connect a Bluetooth device to your computer. Please note that not all computers support Bluetooth, so this may not be suitable for your computer.
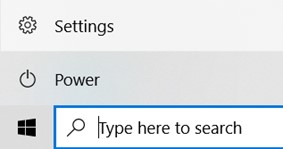
1. Click the Windows icon in the bottom-left of your screen, then select 'Settings' above it.
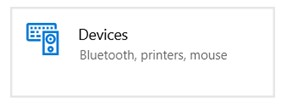
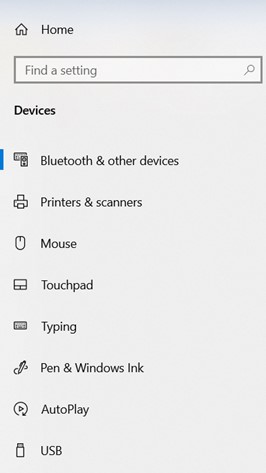
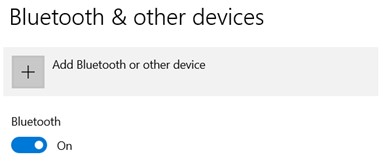
2. Click the 'Devices' option in the Settings menu, then select 'Bluetooth & other devices' from the left if it is not already selected.
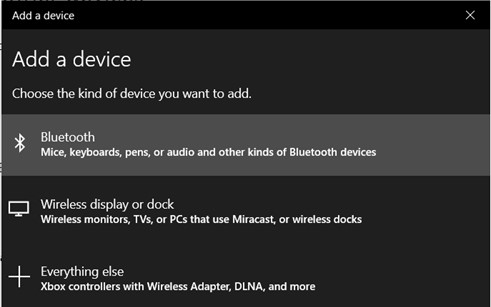
3. Ensure Bluetooth is turned on, then click 'Add Bluetooth or other device'. When the 'Add a device' window appears, select 'Bluetooth'.
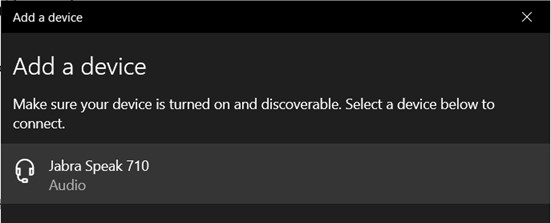
4. Turn your Bluetooth device on and into Bluetooth 'pairing' mode. This is explained in the device's user manual but typically involves pressing and holding a Bluetooth icon or button, which is shaped like >B (shown in the image above). Your device should then appear in the window; click it and it should automatically connect to your computer. If you are asked for a pin or code, this is usually 0000 but check the device's user manual to find out.
5. Your device should then be ready to use, with the window stating 'Your device is ready to go!'. Windows should automatically change your microphone and speaker settings, but follow the relevant instructions below to check this.
Configuring your Bluetooth microphone
1. Right-click the audio icon in the bottom-right of your screen, then select 'Open Sound settings'.
2. Under the 'Input' section, choose the microphone you would like to use by clicking the name of the current microphone, then select the name of the microphone you wish to use. You can then test the microphone by speaking, where the blue bar under 'Test your microphone' will react to sound.
Configuring your Bluetooth speaker
1. Click the sound icon in the bottom-right of your screen to view the device audio is currently coming through.
2. Click the ^ on the right of the device and choose the speaker you would like audio to come from.
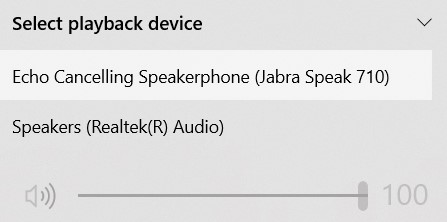
3. Lastly, make sure the volume is turned up appropriately by moving the audio slider at the bottom. Clicking the slider plays a short audio clip to show how loud your audio will be.
4. If you cannot hear any sound after selecting the correct speaker and turning up the volume, you may need to adjust the volume on the speaker. There should be a dial or - and + buttons to adjust the volume, but read the device's user manual if you're unsure.
Connecting a camera (webcam) to your computer
Webcams usually connect to computers via a USB cable, which can be plugged into the USB port shown below. The webcam should then be ready for use after plugging it in.
Using a speaker, microphone and camera in Microsoft Teams
Before changing your device settings, check that they are powered on and connected (either by cable or Bluetooth). If you have followed the steps above to connect your devices, they should automatically connect to Teams, but please follow the steps below to ensure Teams has configured your devices appropriately.
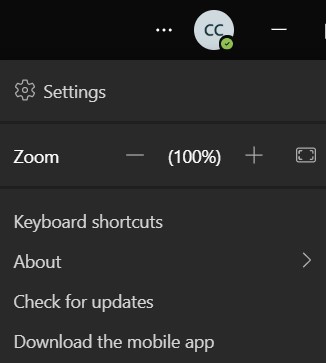
1. Click the '...' next to your account icon, then select 'Settings' from the drop-down.
2. Select the 'Devices' tab on the left to change your devices. Your device may show up under 'Audio devices' if it is a microphone or speaker, so select these if it they are not automatically selected.
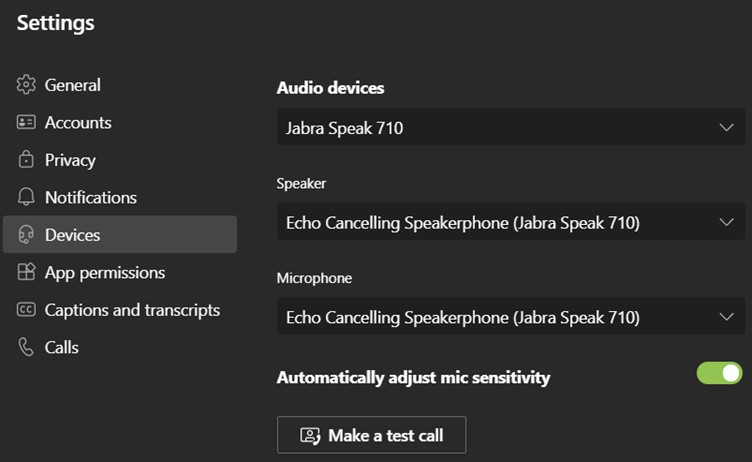
3. To change the speaker, choose the appropriate one from the drop-down option under 'Speaker'. If you are using a conference speaker with a built-in microphone, select this speaker from the menu. If you are using the monitor's speakers, choose the same speakers you chose when you connected your computer to the monitor.
4. To change the microphone, choose the appropriate one from the drop-down option under 'Microphone'. For the best audio quality, enable 'Automatically adjust mic sensitivity' and set the 'Noise suppression' to 'Auto (Default)'.
5. To change the camera, scroll down using the scroll bar on the right until you see the 'Camera' section. Choose the appropriate camera from the drop-down option under 'Camera'. You will see a preview of the camera underneath, which will allow you to find the camera's optimal position for the meeting. If the preview shows background effects like blurring or a backdrop, this can be changed when starting or joining a meeting.
6. All of these settings save automatically, and you can test them by clicking the 'Make a test call' button. Once the test call ends, it will provide a summary of your devices to highlight any issues it may have identified.
Using a speaker, microphone and camera in Zoom
Before changing your device settings, ensure they are powered on and connected (either with a cable or Bluetooth).
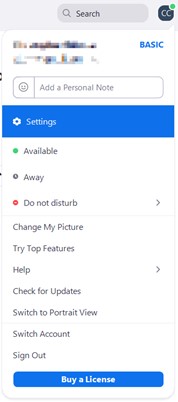
1. Click your account icon in the top-right, then select 'Settings'.
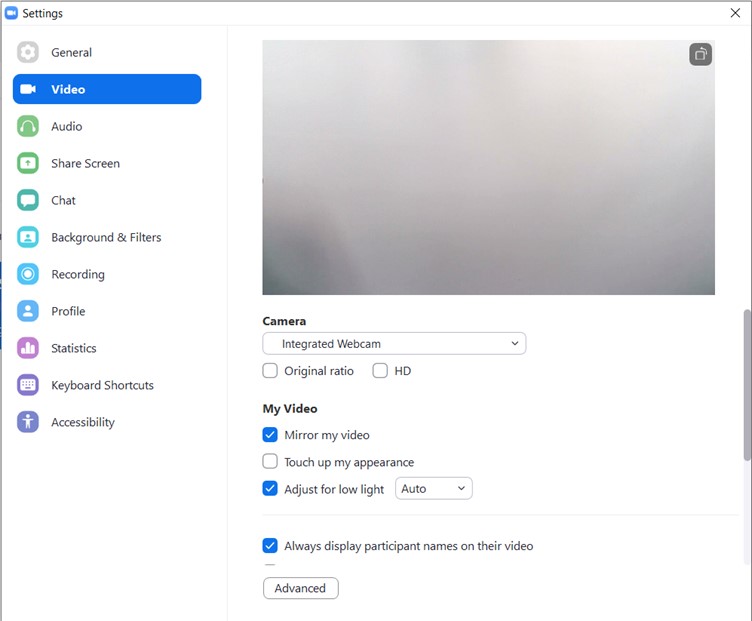
2. To change the camera, select the 'Video' tab on the left. Select the appropriate camera from the drop-down under 'Camera'. You will see a preview of the camera at the top, which will allow you to find the camera's optimal position for the meeting. If the preview shows background effects like blurring or a backdrop, these can be changed in the 'Background & Filters' tab on the left. For the best video quality, enable 'Adjust for low light' and set it to 'Auto'.
3. To change the speaker and microphone, select the 'Audio' tab on the left.
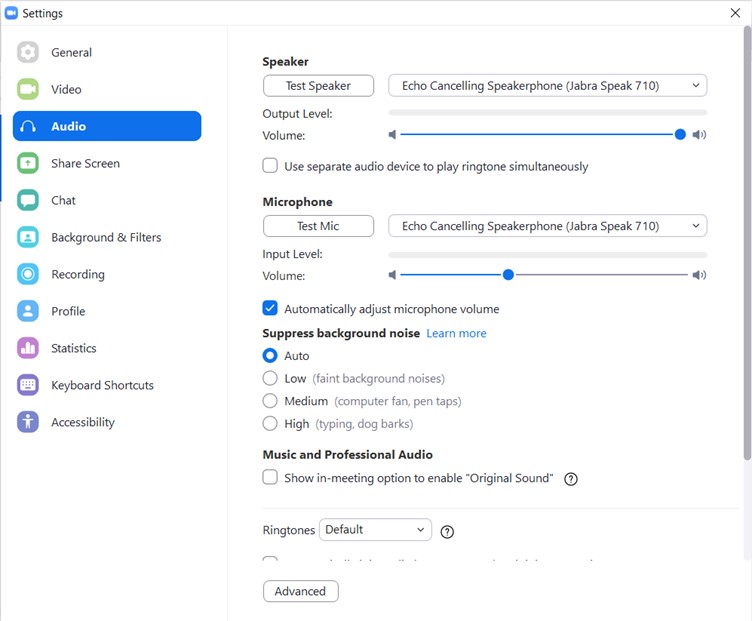
4. The speaker can be changed by selecting the appropriate one from the drop-down under 'Speaker'. If you are using a conference speaker with a built-in microphone, select it from the drop-down menu. If you are using the monitor's speakers, choose the same speakers you chose when connecting your computer to the monitor. You can test the speaker by clicking the 'Test Speaker' button, which will play an audio clip out of the selected speaker. The 'Volume' slider allows you to adjust the speaker's volume.
5. To change the microphone, select the appropriate one from the drop-down under 'Microphone'. For the best audio quality, enable 'Automatically adjust microphone volume' and set 'Supress background noise' to 'Auto'. You can test the microphone by clicking the 'Test Mic' button, which will record audio and play it back to you.
6. All of these settings save automatically, so you will be ready to start your hybrid meeting.
