ChemOffice+ Cloud 23.0 (previously known as ChemOffice Professional) is now available to download for members of the university.
ChemOffice+ Cloud 23.0 is now available on managed Windows workstations in the department through WPKG.
Installation on a managed Windows machine
If you use a Windows machine managed by the department, you should use WPKG to install the software. Activation should occur automatically on first use.
Installation on a single unmanaged Windows machine
- To install ChemOffice, download the installer following the instructions in the Downloading Software section below and note where you have saved it to.

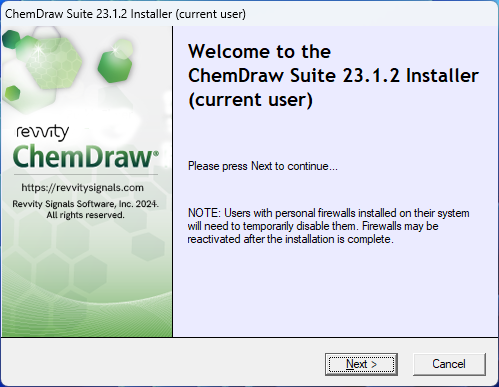
- Locate and run the installer, following the on screen instructions.
- Once you have finished the installation, you will need to enter the ActivationCode you obtained by following the instructions in the ActivationCode section below. You are NOT allowed to distribute these details to anyone else, ever.
- Once you have done this, you should be able to start ChemOffice.
Downloading the Software
- If you registered on the Perkin Elmer site (the name replaced by Revvity Signals) before 2018 you will need to create a new account on Revvity Signals' Flexnet page at https://connect.revvitysignals.com/sitesubscription/Register.aspx?Flexer... in order to obtain the latest download. Available downloads are shown on the Home page. If you encounter difficulty doing this please email support@ch.cam.ac.uk with your Name, CRSid and Department.
Obtaining the Activation Code
To get the activation code log into Revvity Signals' Flexnet page at https://connect.revvitysignals.com/sitesubscription/Register.aspx?Flexer... Go to List Entitlements on the left of the page. You should see a list of versions we have purchased. You will find the activation code on the right-hand side of the page, inn the line with Entitlement ID ORD37987SL. Do not share this code with anyone else.
When you download the software PerkinElmer do NOT send the serial numbers by email.
Installation on a single Mac machine
You are NOT allowed to redistribute these files under any circumstances, ever.
- Download the installer following the instructions in the Downloading Software section above and note where you have saved it to.
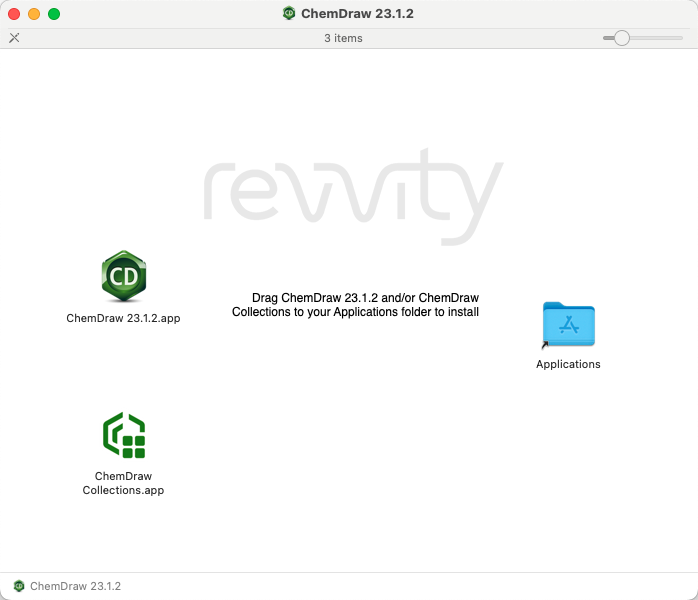
- Locate and double click on the installer. You should see the following screen.

- Drag the ChemDraw and ChemDraw Collections icons to the Applications folder.
- Note the activation code and serial number from following the instructions in the Serial Numbers section above. You are NOT allowed to distribute these details to anyone else, ever.
- On the first run, the registration window will appear. Enter the activation code from the previous step.
- Click Activate
