A teaser list is a display of brief versions of a set of pages.
Create pages
Each teaser must have a corresponding page. This might be an existing page on your site, or you can create new pages. Each image and Read more link can link either to the full version of the page, or to an arbitrary link of your choosing (which could be either a page on your site, or a link to an external site). The documentation on display modes explains the different options for links.
Setting the link destination for an item in a teaser list (optional)
By default, when a visitor clicks on the teaser item (any of the image, or the title, or the Read more link) they will be taken to the full version (default display) of the page. If you instead want the teaser item to link to a different page - either elsewhere on your site, or to an external address - you can specify this in the Teaser Link box whilst editing/creating a page.
Create a nodequeue
Each teaser list is based upon a nodequeue, which is a list of specific pages from your site. Read more about this at creating a nodequeue.
Add pages to nodequeue
Once you have a nodequeue, you then need to add the pages of your choice to the nodequeue.
Configure display settings (optional)
You may wish to configure the display options for your nodequeue - you can specify how many columns are used to display the teasers, and whether a vertical or horizontal display mode is used.
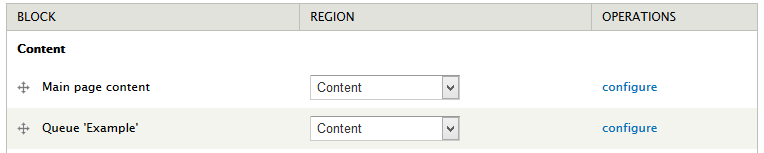
Assign block to appropriate region
Finally, each teaser list provides a block - you will need to position the block appropriately in order for the teaser list to appear somewhere on your site. The name of the block will be Queue 'Title of nodequeue' (where Title of nodequeue is Example in the screenshot below). You would ordinarily want to assign the block to the Content region, as well as configuring the block to only appear on either one page or a few pages.