First, after logging in, click the edit tab on the page you wish to edit:

Then, on the toolbar that appears above the content you are editing, click the Image button (highlighted in red in the screenshow below):

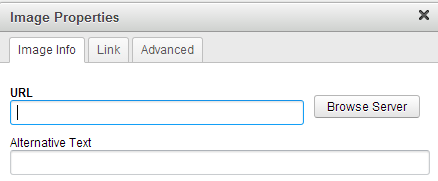
On the box that then pops up, click the Browse Server button:
This will open a new window or tab in your browser. The following steps vary slightly between sites, so please choose the screenshots that look most like what you see.
First version
Click the "Upload files" button, hightlighted in red the following screenshot:
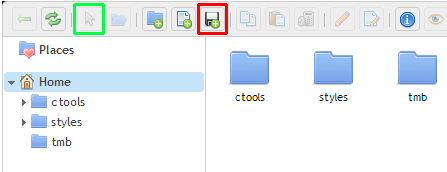
In the next window that appears, click the "Choose file" button to select the file on your computer you would like to upload, and click OK. You can also create folders to organise your files if you wish (the button two places to the left of the "Upload files" button). If you hover the mouse cursor over any of the icons across the top of your screen, a brief description will appear explaining what they do. After uploading the image it should appear in the right-hand half of the file browser. Left-click on your chosen image, and then click the "Select" button on the toolbar (highlighted in green in the screenshot above).
Second version
Click the Upload button at the top left:
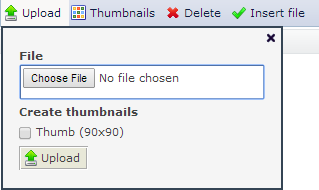
Click the Choose File button (please note that the exact text on this button will depend on your internet browser: it may instead say Browse or something else). Choose the file that you want to upload, and then click the Upload button (see image above). Finally, click the Insert file button (again, see image above).
Setting image properties
After following the relevant instructions above, you will be taken back to the window entitled Image Properties: most users will not need to make any changes to the settings here, and you can simply click OK. Please note that, by default, images will automatically resize to fit the screen size of the viewer, so it is ordinarily best if you do not set the image size manually.