Installer (suitable for most users)
To set up a wired ChemNet connection using your personal credentials, download the wired ChemNet installer. Once downloaded, find the installer in your downloads folder, right click it and choose Run as administrator. After a few seconds, a box should pop up to inform you the set up has finished:
You should then automatically be prompted for a username and password.
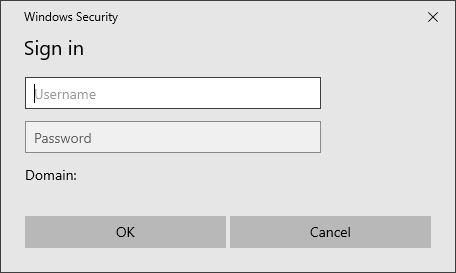
For most members of the Department, your ChemNet username is your CRSID followed by @ch.2021.cam.ac.uk (not @cam.ac.uk). You can collect the password (or ChemNet token) from https://apps.ch.cam.ac.uk/ssms/collectchemnet if you know your Raven password and you have been registered in the Department database.
If you are working with a spin-out company in the Department and so need to use our nonacad service, please contact the Computer Officers to arrange collection of the correct username and password.
Step by step instructions
If the automatatic installer does not work (perhaps because your computer has an unusual network configuration), you may need to instead follow the step by step instructions to manually configure the network connection.
Deleting the wired profile
By default, it is only possible to configure a single wired network profile on Windows. If you need to delete the ChemNet profile, e.g. to connect to a different wired network that requires authentication, open a command prompt and run the command netsh lan show profiles. The output will look similar to:
Profile on interface Ethernet
=======================================================================
Applied: User Profile

    Profile Version        : 1
    Type                   : Wired LAN
    AutoConfig Version     : 1
    802.1x                 : Enabled
    802.1x                 : Not Enforced
    EAP type               : Microsoft: Protected EAP (PEAP)
    802.1X auth credential : User credential
    Credentials Configured : No
    Cache user information : Yes
You need to note the name of the network interface, which appears on the first line after the text Profile on interface - in the example above the profile name is Ethernet, but it may instead be e.g. Local Area Connection. Then run the following three commands at the command prompt (N.B. the space after the equals sign in the third command is deliberate and necessary)
netsh lan delete profile interface="Ethernet"
sc stop dot3svc
sc config dot3svc start= demand
substituting the interface name in the first command for your interface name if necessary. For the profile deletion to take effect, unplug your network cable, wait a few seconds, and plug it back in again. If that does not work you may need to either log out and then log back in to your computer, or a reboot may be required.
