This example covers adding a networked HP printer called squel.ch.private.cam.ac.uk . If you are not sure of the name of the printer you want to add, check for a label on the printer or an LCD display.
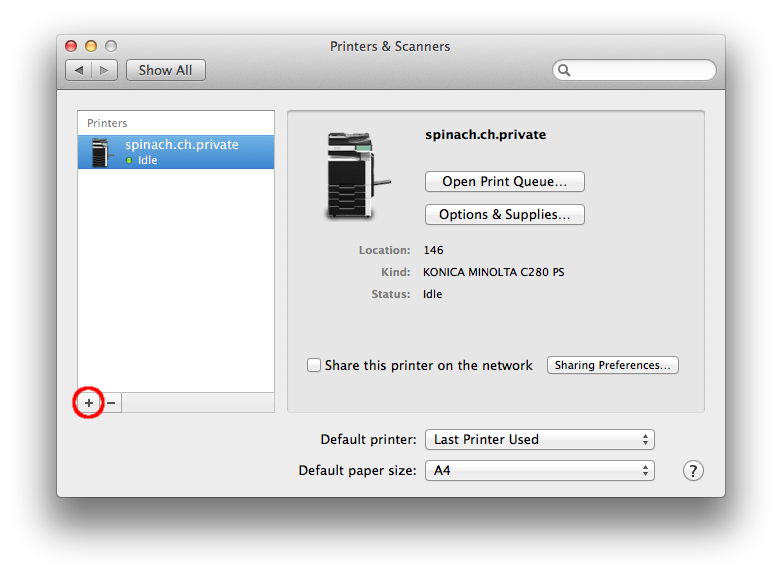
Go to System Preferences, open Printers and Scanners, and click the plus sign as shown below.
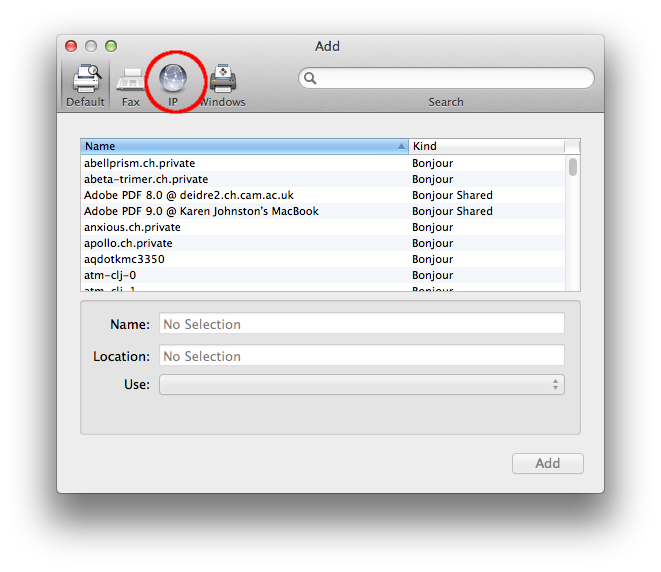
You will get a new window with four tabs at the top left. Click the one labelled 'IP' as shown below.
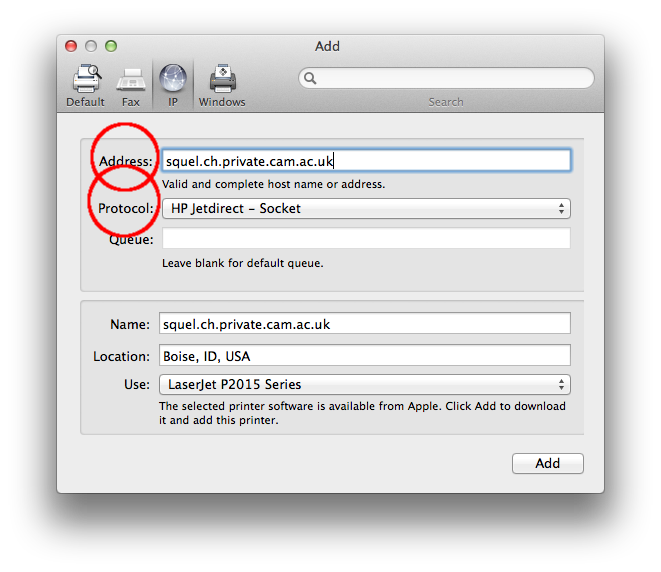
You will get a new screen with boxes to fill in. The Address: box should contain the full name of your printer. This will almost certainly end in .ch.private.cam.ac.uk or .spri.private.cam.ac.uk . The Protocol: box should be 'HP JetDirect - Socket' for an HP printer. For others you may need to use 'LPD - Line Printer Daemon'. Leave the rest of the boxes blank. Some will be filled in automatically later on.
Click 'Add'. The Mac will try to communicate with the printer. Be patient. It may take some time to do this.
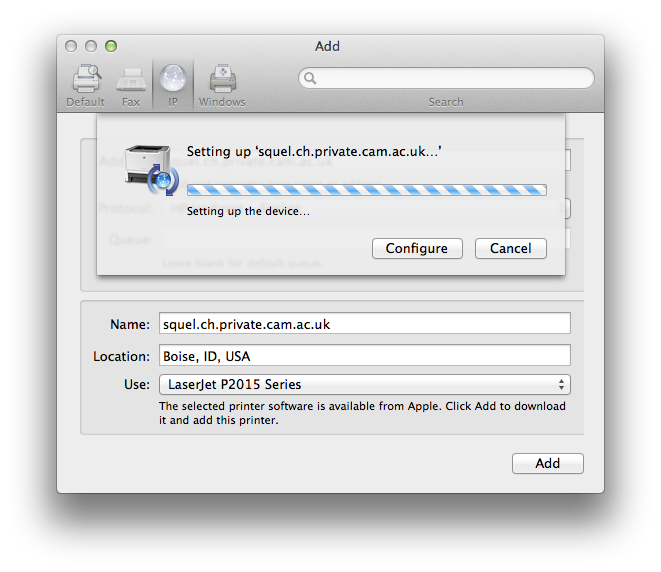
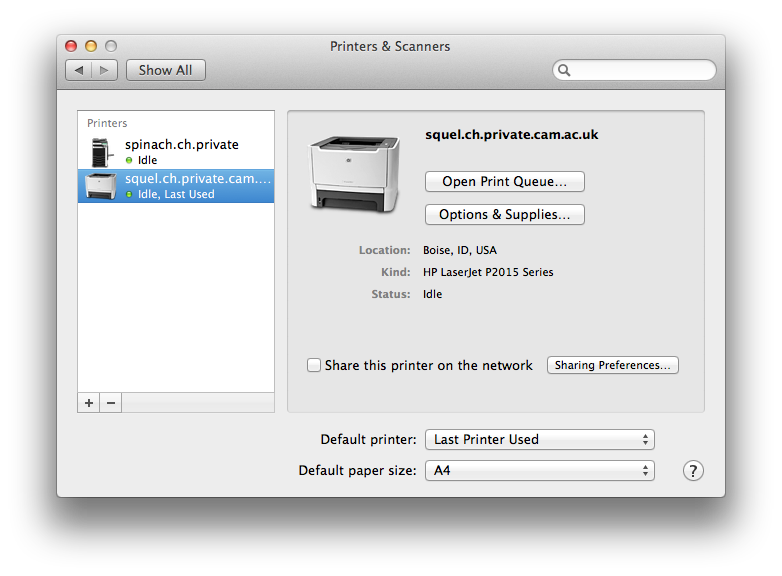
If all goes well you will then have a new printer set up on your machine and can configure its options by clicking 'Options and Supplies'.